Worm Composting
The why, who, what, when, where and how
Why
Worm composting is hands down the best thing I have ever done for my garden. There are so many benefits of worm composting, where to begin!
Firstly, I just love knowing that my family’s green and brown waste isn’t wasted at all! Did you know that approximately 45% of household waste and 30% of all the waste we throw away is organic and compostable?
Secondly, it is an extremely cost-effective way to make a effective, non-chemical, all-natural fertiliser.
Thirdly, it is a very low maintenance system, requiring little effort and almost no on-going cost.
Fourthly, your garden will love you forever!
And lastly, it’s a great way to get the kids involved in the garden AND they can even sell the worm tea to make a buck.
Have I convinced you to start worm farming yet? Then read on….

Who
Worm farming is for anyone who has a spare 60 x 60cm space. Even if you don’t have a garden you can still be a proud composter and sell the worm tea/castings – your worm farm will pay for itself in no time!
What
Here is a list of things you will need to acquire to get started:
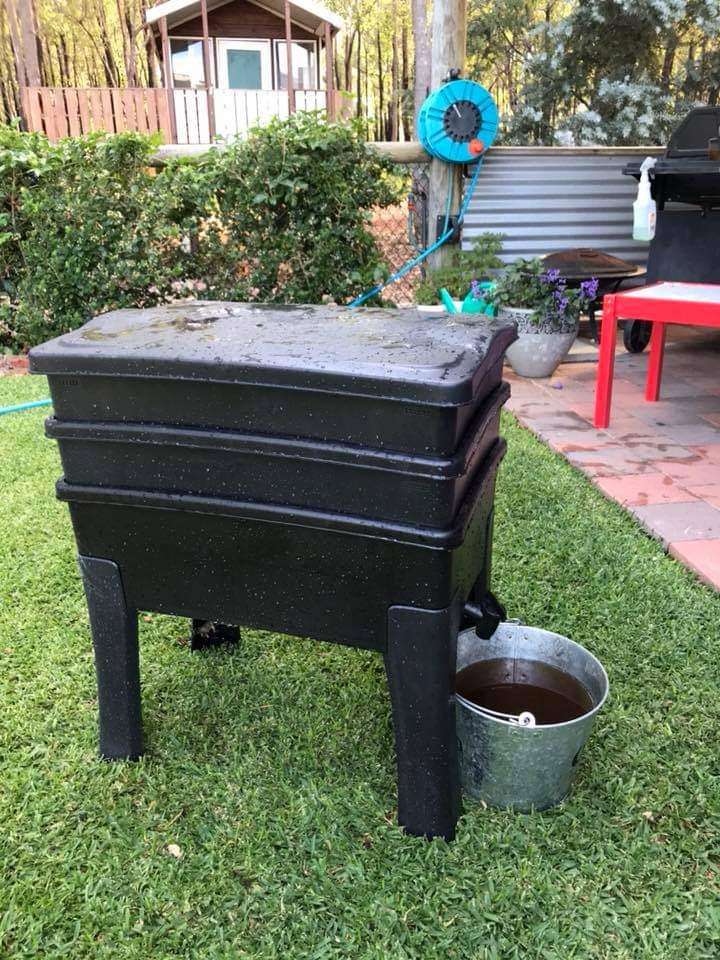
A worm farm. I personally love the brand Tumbleweed, they have a variety to choose from and their website has a wealth of knowledge to refer back to.
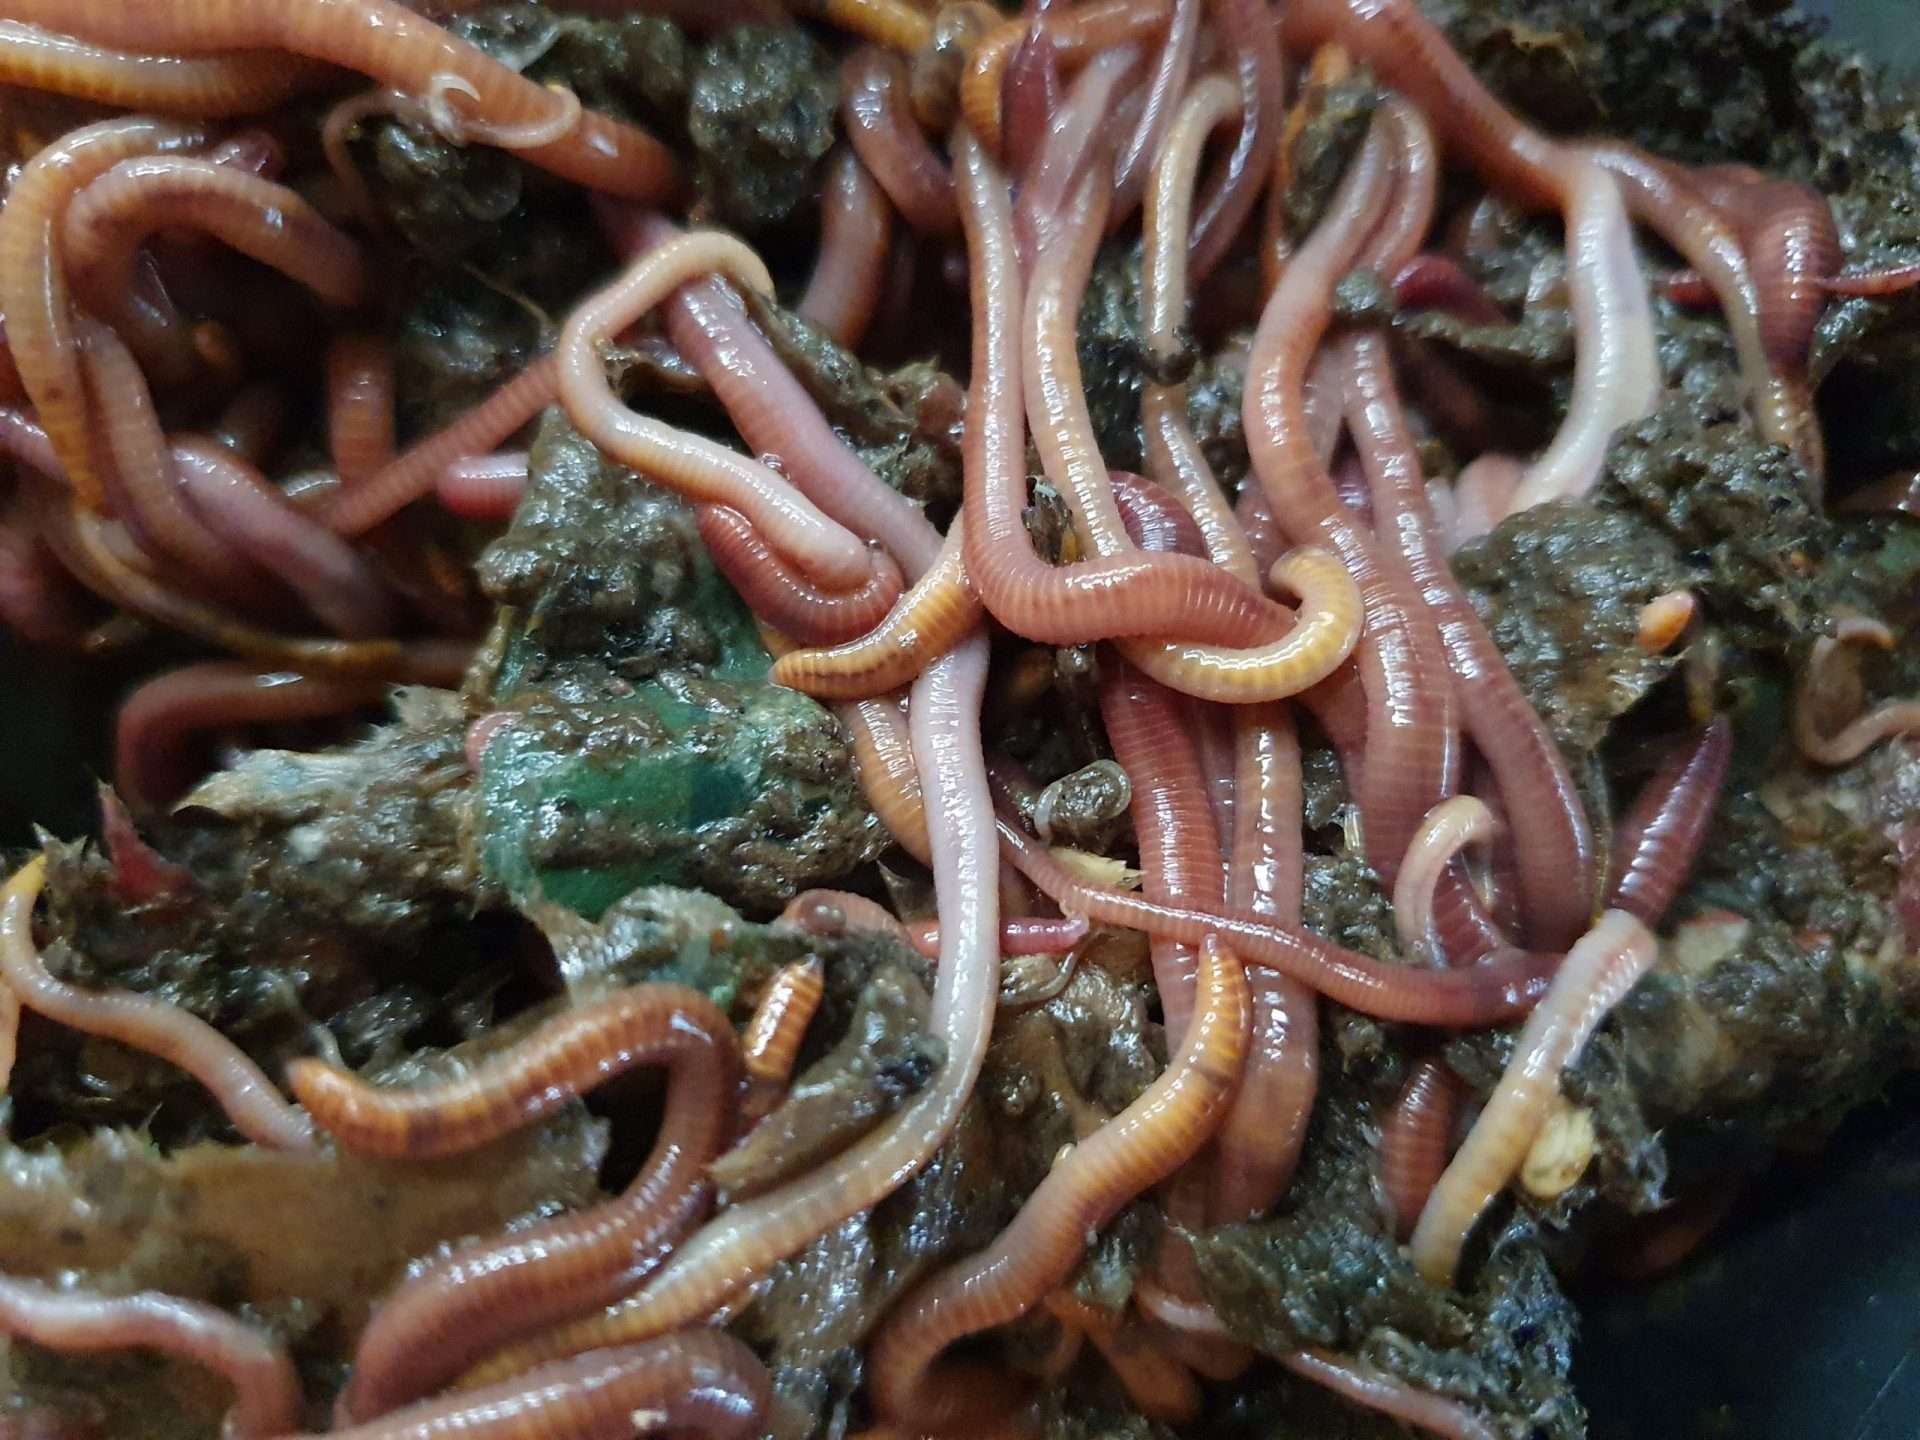
Worms! You’ll need Redworms (also known as Red Wigglers). Unfortunately, your standard earthworms will not do the trick. As beneficial as they are in aerating the soil and providing good drainage to your garden beds, they are burrowers who live and feed in the depth of the soil. Unlike their fellow friends, Redworms are surface dwellers, they like to live close to the surface eating all the matter that is added to the top of your worm bin.

You can buy Redworms from Bunnings for around $30 – $50. Although if you keep an eye out on the gumtree and market place you should be able to pick them up pretty cheap. Or if you’re a Perth Hills local, just drop me a line and I will happily donate a handful to you.
Worms breed up fast, so even if you start small you’ll end up with a fully fledge flock in no time.
Worm farm conditioner. Made from all-natural ingredients, worm conditioner helps to keep your worm farm nice and healthy.
If your worm farm smells like a rainforest it is healthy, and you don’t need to adjust the pH level of the soil. If your worm farm is smelling slightly off, just sprinkle a tea spoon of worm conditioner over the top. This will help to neutralise acidity and balance pH levels. This is the only on-going cost involved in a worm farm. It goes for only $12 a bottle and should last about a year.
You can purchase a worm blanket to go on top of the food scraps which makes it darker and encourages the worms to come up to feed. But hold onto your money because they will just eat the blanket anyway. You can alternatively use cardboard as a blanket. Pizza boxes are perfect for this. Otherwise they do just fine without it.
Where
Ensure you worm farm is placed in a sheltered location away from the scorching sun. Under a patio, under a balcony, in a shed or in the garage are all good places. As long as it is in the shade.
How
*Please note all worm farms maybe slightly different. In this section I refer to my own worm farm – the Tumbleweed worm café. Please check package instructions for any differences in configurations.
Place the worms into the bottom tray of your worm farm.
Add bedding, aka your browns – cardboard, shredded paper/newspaper, toilet rolls, egg cartons and any other brown materials suitable for worms to eat. Avoid any coloured inks e.g catalogues or plastics going in. Add in food scraps anything goes apart from citrus, onions, garlic, meats, bones, fats, eggs (egg shells are ok) dairy products and processed foods. Think fresh foods. And don’t put chilli in your worm bin, can you image the shock when poor little Herman the worm wraps his mouth around a Carolina Reaper Chilli seed.
Give your worm farm a good misting and you’re on your way.

Moving forward, to ensure you are keeping your farm at the preferred moisture level run a bit of water through your farm once a week. This also results in your power packed liquid fertiliser (also known as Worm tea, worm juice or worm wee)
When
Feed your worms as required, a quick lift of the lid will tell you if you need to add more food. Be careful not to overfeed your worms as the food will just go rotten before they can get to it, causing the pH to be thrown out. As a rule of thumb, I attend to my worm farm once a week. I add more food and also run 5lts of water through it at the same time. I then sprinkle some conditioner on (if needed), add a heap of bedding and close the lid until next week. I will then use up my liquid fertiliser within the next few days.
When the first tub is full, add your second tub and start adding your waste to the new tub. The worms will move up through the holes and start feeding from the top tub. When this tub is full add another tub and so forth.
So you have filled up all of your tubs, what next? Its time to harvest your worm castings. Take the bottom tub out. By this time, the bottom tub should consist of nothing but worm castings (and a few worms, but no waste). Worm castings: otherwise known as worm poo or as I like to call it “black gold” are a powerhouse of beneficial bacteria and nutrients. Remove the worm castings from the bottom tray, mix it into your soil, chuck a handful on your pot plants, or place at the bottom of a hole whenever you are planting something new and your plants will thrive. Don’t stress if a few worms make it into the garden or pots, you can’t save them all and in my experience they can go to live on.

You honestly cannot go wrong with this process and will have the hang of it in no time. But if you have any questions feel free to hit me up!
For more information check out the FAQ’s https://www.tumbleweed.com.au/worm-farming-faqs


Leave A Comment